
Last updated September 24, 2026
Attic Insulation Maintenance Checklist for Tustin Homeowners
Blown-in insulation settles. In Tustin’s heat cycles, fiberglass batts in a vented attic can compress 15-20% over a decade, dropping an R-38 installation to an effective R-30 without a single visible sign from inside the living space. Most attic insulation checklists tell homeowners to “look for damage,” which is too vague to act on. This checklist gives Tustin homeowners the exact measurements, visual markers, and odor cues that indicate a specific type of failure - and ranks them by urgency so repairs get scheduled in the right order.
Quick Answer
A proper attic insulation maintenance checklist for Tustin homes involves four prioritized inspections: measuring installed depth against the R-value ruler on your trusses, checking for rodent intrusion signs specific to Southern California attics, identifying air-sealing failures that develop after installation, and confirming moisture sources like disconnected bath exhaust ducts. Homeowners looking for Attic Insulation services can start with this checklist to understand what professionals evaluate. Homeowners can complete the basic version in under 20 minutes annually; a biennial professional inspection adds blower-door confirmation and zone-by-zone depth documentation.
Table of Contents
- How to Measure Installed Depth Against Your R-Value Ruler
- The Three Rodent-Intrusion Indicators in Southern California Attics
- Identifying Air-Sealing Failures Without Tools
- Tustin Moisture Checklist: What to Look For
- Annual Homeowner Check vs. Biennial Professional Inspection
- Common Mistakes to Avoid
- When to Call a Professional
- Frequently Asked Questions
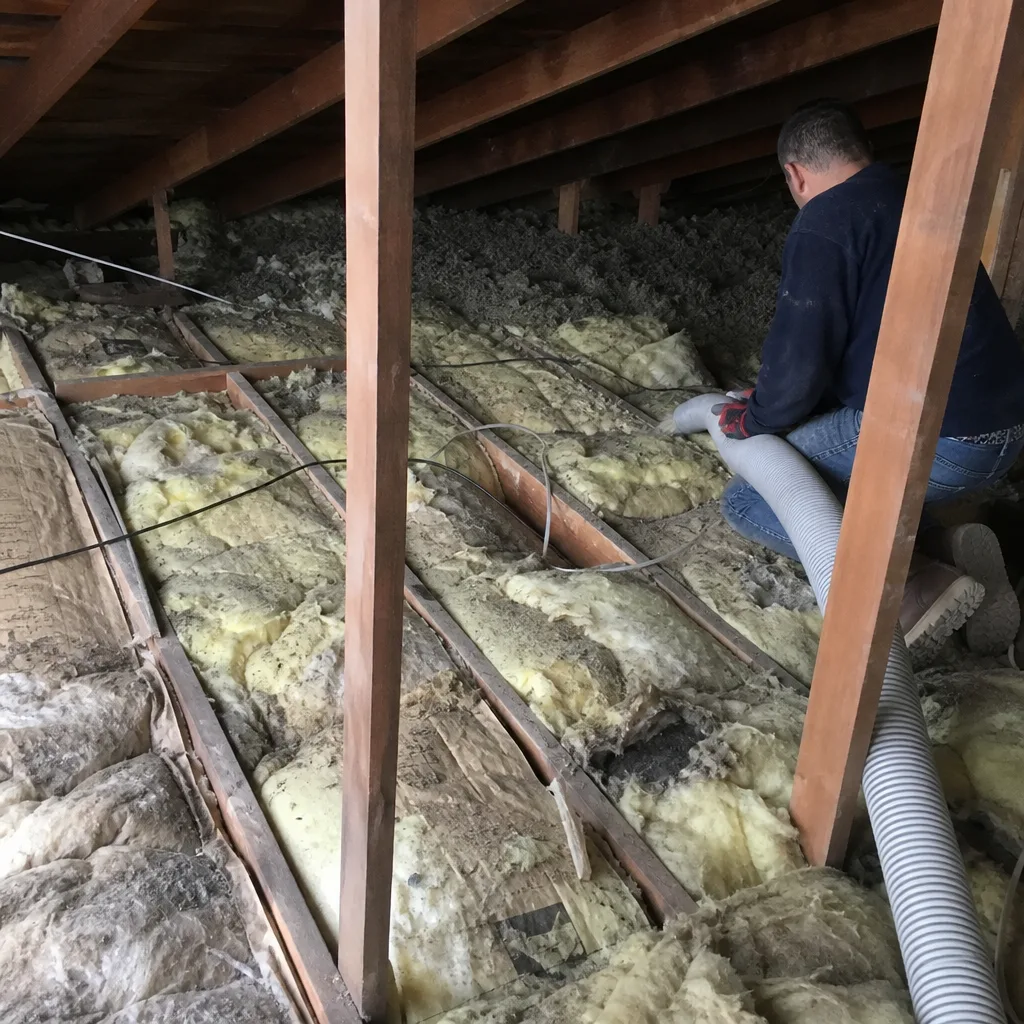 Before
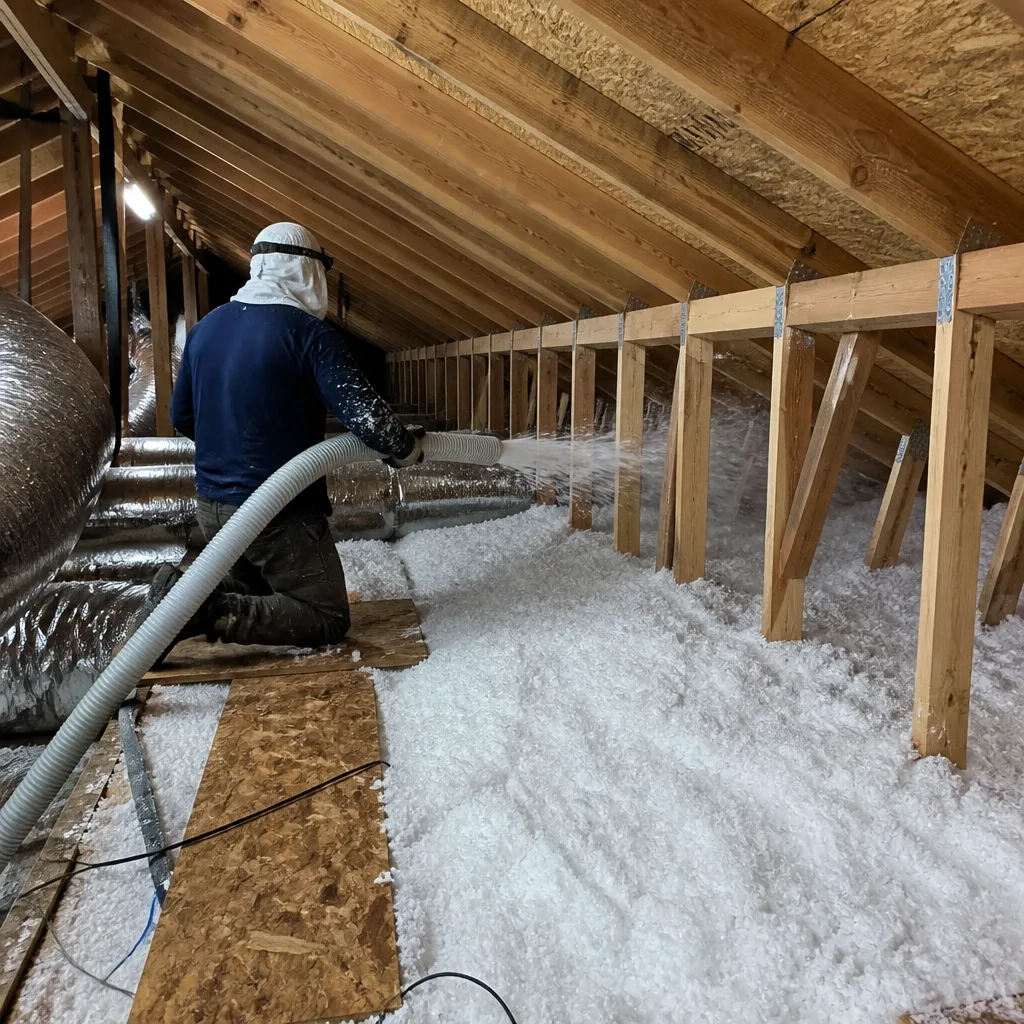 After
AfterHow to Measure Installed Depth Against Your R-Value Ruler
Every code-compliant insulation job in Tustin should have an R-value ruler stapled to an attic truss or joist. It’s a simple cardboard or plastic strip showing depth marks corresponding to R-values for the specific material installed. If your attic was insulated after 2016, this ruler is required by Title 24; if it’s missing, that’s your first red flag.
Here’s how to measure correctly:
- Wait for morning, before attic temperatures exceed 90°F. Tustin attics can hit 130°F by mid-afternoon in August, and you’ll rush the job.
- Bring a tape measure, a flashlight, and a camera. Wear a respirator if you have one; dust masks are minimum.
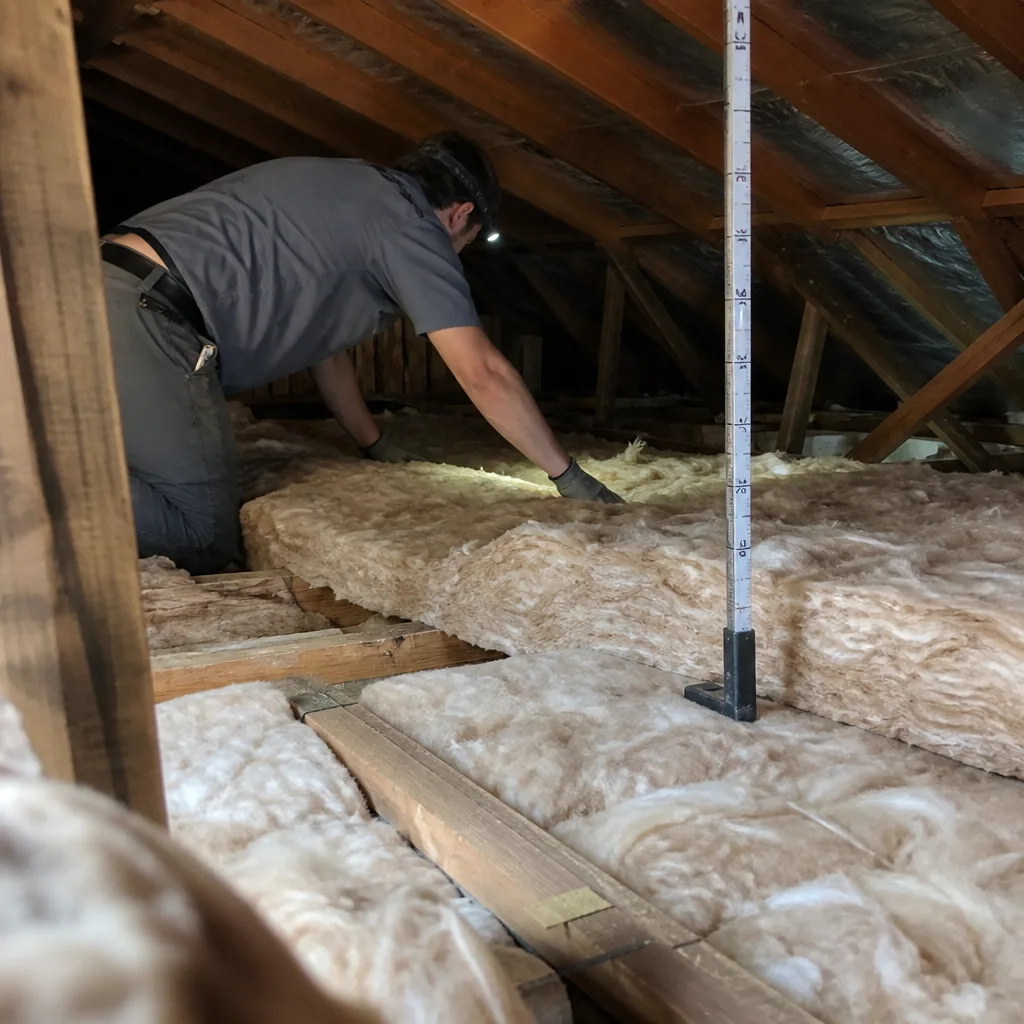
- Measure at six points: center of attic, each corner, and two mid-wall locations. Avoid measuring directly over a joist or directly adjacent to a duct boot.
- Compress the insulation gently with a yardstick until you feel resistance, then measure to that point. Don’t push to the drywall; you’re measuring settled depth, not maximum possible compression.
- Compare each measurement to the R-value ruler. Note any location where you’re short by two inches or more.
Two inches matters more than most homeowners realize. In Tustin’s climate zone - CEC Climate Zone 8 - the prescriptive R-value for attic insulation is R-38 for new construction and R-30 for retrofits, though many contractors install R-38 as standard. Fiberglass loose-fill at R-38 requires roughly 14 to 16.25 inches of settled depth depending on the specific product density. Drop two inches below that, and you’ve lost approximately 12-15% of your thermal resistance. In a 1,800 square foot Tustin home with electric cooling, that shortfall typically adds $180-$340 to annual energy costs, based on Southern California Edison rate schedules we’ve tracked since 2016.
If your measurements vary by more than three inches across the six points, you have uneven settling or installation. This is common in older Tustin neighborhoods like Old Town Tustin and Laurelwood, where attics were often insulated in stages as additions were built. The original 1950s section might have R-19 batts while a 1980s addition has blown-in to R-30, creating thermal boundaries where conditioned air finds paths of least resistance.
What to document: photograph each measurement location with the tape visible, note the date, and keep a running record. When you call for a professional assessment, these photos eliminate guesswork. Attic Insulation in Tustin jobs we’ve completed since 2016 have shown that homeowners who keep depth records get more accurate quotes and avoid the “let’s just add more” approach that covers problems without fixing them.
The Three Rodent-Intrusion Indicators in Southern California Attics
Tustin sits at the intersection of urban development and remaining coastal sage scrub habitat. Roof rats - Rattus rattus, not Norway rats - are the primary attic invader here, and they’re excellent climbers. We’ve found active colonies in attics from Tustin Ranch to the homes near Peters Canyon, and the damage pattern is distinct from what you’d see in cooler climates.
Indicator 1: Runway compression lines in loose-fill insulation
Roof rats establish travel routes between their nest site and food sources. In loose-fill fiberglass or cellulose, these routes compress into visible troughs - typically 2-3 inches wide, running along joists or following duct lines. The compression is permanent; even after rodents are removed, the insulation doesn’t rebound. In Tustin’s dry climate, these runways persist for years and become thermal bridges. We’ve measured attic floor temperatures at runway locations that run 8-12°F warmer than surrounding areas during cooling season.
Indicator 2: Gnawed batt facing
Fiberglass batts with kraft paper or foil facing provide nesting material. Roof rats gnaw the facing into strips, often leaving the fiberglass core exposed while carrying the paper to their nest. Look for batts where the facing is shredded at the edges or completely missing in patches. The fiberglass itself is rarely disturbed - rats don’t want to nest in it - so the damage can look like deterioration when it’s actually active gnawing.
Indicator 3: Insulation displacement around HVAC flex duct boots
This is the most overlooked indicator in Tustin homes. Roof rats follow the temperature gradient from conditioned ducts into the attic space, and they push insulation aside to access the warmest point - the flex duct boot where it penetrates the ceiling. Look for a “crater” of displaced insulation around each boot, sometimes with droppings concentrated in that depression. In homes with flex duct systems common in Tustin Ranch and Columbus Grove developments, we’ve found boots completely exposed to attic air, creating a direct thermal bypass.
If you find any of these three indicators, the sequence matters: rodent removal first, then damage assessment, then insulation repair. Sealing an attic with active rodents traps them inside. We’ve been called to Tustin homes where well-meaning homeowners added insulation over rodent damage, only to have the compressed runway lines telegraph through the new layer within two seasons. Topside Attic Insulation Tustin home inspections always include a rodent damage assessment before recommending any insulation work.
Identifying Air-Sealing Failures Without Tools
Air sealing is the step most Tustin homeowners never see. It happens before insulation goes in, and when it fails later, the symptoms show up as comfort problems that get blamed on the insulation itself. Here are three failure modes we’ve documented repeatedly in Tustin attics, each detectable without specialized equipment.
Cracked top-plate foam
The top plate is the horizontal framing member where wall studs meet the ceiling. In a proper air-sealing job, this joint gets sealed with expanding foam or caulk before insulation covers it. Over time, differential settlement between wall and roof framing, combined with Tustin’s thermal cycling (attic temperatures swing 60°F or more daily in summer), cracks rigid foam. Look along the perimeter of your attic where the ceiling drywall meets the roof framing. If you can see gaps, or if insulation appears stained in a line following the top plate, you’ve got a thermal bypass. During cooling season, this is where your conditioned air escapes fastest.
Displaced attic hatch weather-strip
The attic hatch is the largest single hole in most ceiling planes, and it’s rarely sealed well after the original installation. The compressible foam weather-strip around the hatch frame gets flattened, torn, or displaced by repeated access. Check the hatch from below: close it, look for visible gaps of light around the perimeter. From above, the weather-strip should form a continuous seal; gaps as small as 1/16 inch add up to a hole the size of a softball in a typical Tustin attic hatch. We replace weather-strip with gasketed hatch covers on every job where the existing seal is compromised.
Recessed-light trim pull-away
IC-rated recessed lights are designed for direct insulation contact, but the trim ring - the visible part below the ceiling - can pull away from the housing, creating a gap that bypasses the intended seal. In Tustin homes built during the 1990s and 2000s, we’ve found this repeatedly in kitchens and bathrooms where humidity cycles loosen the spring clips. Look for a visible gap between the trim and ceiling drywall, or for insulation that appears disturbed directly around the light housing. This is both an air leak and a fire safety concern if non-IC-rated lights were ever substituted.
These three failures share a common pattern: they develop slowly, they’re invisible from living spaces, and they each undermine insulation performance without damaging the insulation itself. A homeowner in Tustin’s Peppertree Bend neighborhood called us last year complaining that her two-year-old insulation “wasn’t working.” The blown-in was fine; cracked top-plate foam along her north wall was dumping conditioned air into the attic at a rate our blower-door test measured at 1,800 CFM50 - nearly 40% of her total building leakage. Sealing that single defect dropped her cooling load enough that she delayed her planned HVAC upgrade.
Tustin Moisture Checklist: What to Look For
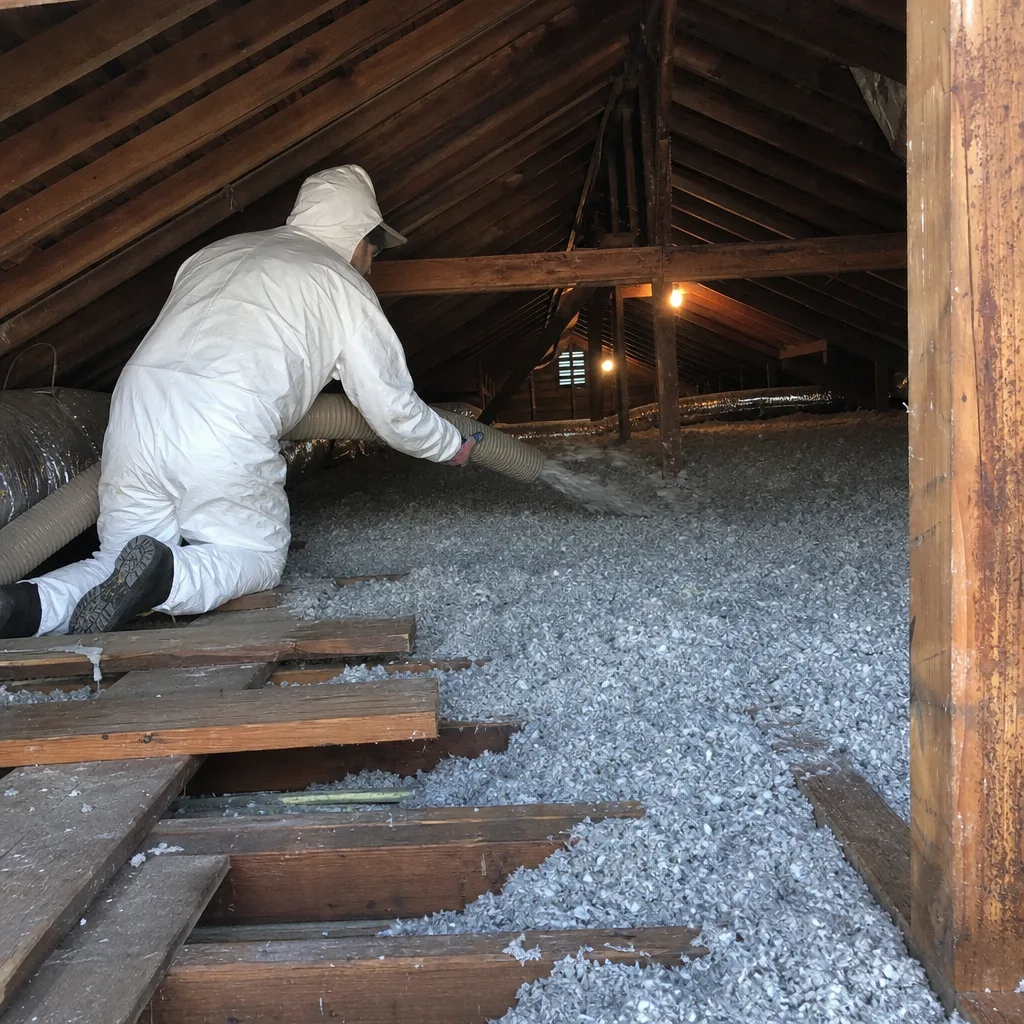
Tustin’s Mediterranean climate makes attic moisture a rare but consequential problem. We get 13 inches of annual rainfall concentrated in December through March, and summer humidity rarely exceeds 60%. Most moisture issues aren’t from roof leaks - they’re from interior sources that got routed wrong.
The disconnected bath exhaust duct
This is the failure mode we’ve seen cause the most damage in Tustin homes, and it’s nearly invisible until it’s severe. Bathroom exhaust fans are required to terminate outside the building envelope, typically through a roof jack or gable vent. The flex duct connecting the fan housing to the termination can disconnect at either end, dumping warm, moist air directly into the attic.
After one summer of intermittent use, here’s what this looks like: the disconnected duct end hangs free, often near the fan housing. Insulation below the discharge point appears slightly darker, maybe a shade grayer than surrounding material. The roof sheathing above shows no immediate staining - Tustin’s dry summer air disperses the moisture before it accumulates - but by October, when the first Santa Ana winds drop humidity to single digits, the accumulated seasonal moisture begins to show as faint water marks on the sheathing underside.
Check these three points:
- Trace each bath exhaust duct from the fan housing to its termination. The connection should be mechanically secured with a clamp or tape, not just pushed on.
- Look for insulation discoloration in a cone shape below any duct end that isn’t connected to a termination.
- Check the roof sheathing above each bath fan location for any darkening, even slight. Tustin’s low overall humidity means any sheathing discoloration is significant.
Kitchen exhaust and dryer vents
These are less common sources but higher volume when they fail. Kitchen range hoods in Tustin homes often terminate through wall caps; if the duct separates in the attic, grease-laden moisture deposits on insulation. Dryer vents are required to terminate outside with a backdraft damper; disconnected dryer ducts in the attic create both moisture and lint fire hazards. We’ve found both in Tustin’s older subdivisions where original ductwork has degraded.
Evaporative cooler seasonal conversion
Some Tustin homes still use evaporative coolers, particularly in the older neighborhoods east of Newport Avenue. These units require seasonal maintenance: the water line must be shut off, the pan drained, and the duct sealed for winter. A cooler left wet through a rare heavy rain season can saturate nearby insulation. If your home has a cooler, check the attic-side pan and duct connection each fall.
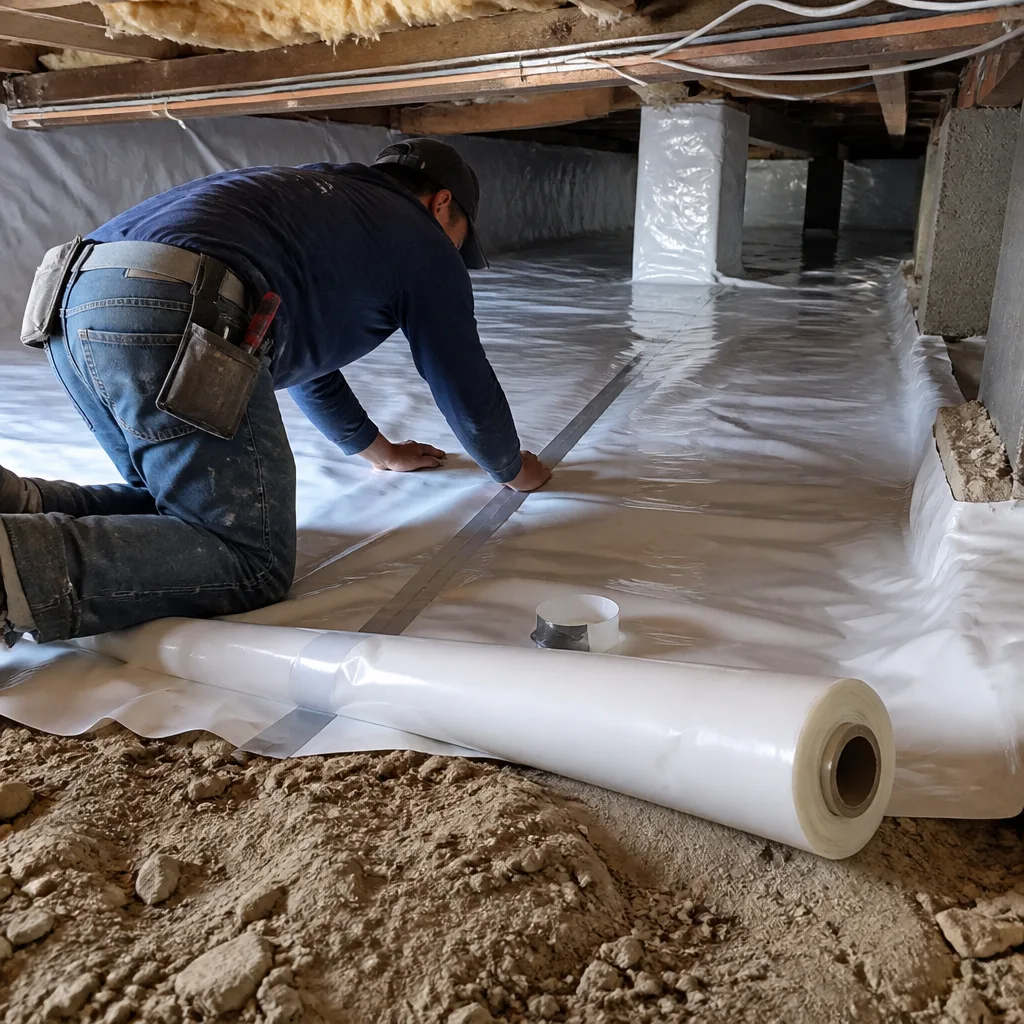
Moisture in insulation is not a DIY remediation. Wet fiberglass loses R-value permanently; wet cellulose can harbor mold even after surface drying. Crawl Space Encapsulation & Vapor Barrier in Tustin addresses similar moisture dynamics at the foundation level, and the same principle applies: find the source, stop it, then replace affected materials.
Annual Homeowner Check vs. Biennial Professional Inspection
Not every inspection requires a contractor. Here’s the division we’ve developed based on 9,000+ homes sealed and insulated since 2016 - every one with a written price before work started and a documented record when the crew left. Browse our more guides & resources for additional homeowner tips.
Annual homeowner check: 20 minutes, no tools beyond a tape measure and flashlight
- Measure six depth points and compare to your R-value ruler. Record in a notebook or phone.
- Walk the attic perimeter, scanning for the three rodent indicators: runway lines, gnawed facing, displaced insulation at duct boots.
- Check attic hatch seal by closing from below and looking for light gaps.
- Trace bath exhaust ducts to confirm mechanical connections at both ends.
- Photograph anything that looks different from your last check.
Do this in April, after the last winter rain and before the heavy cooling season. Tustin’s spring attic temperatures are tolerable for a brief inspection, and you’ll catch any winter-developed issues before they stress your summer cooling load.
Biennial professional inspection: blower-door confirmation and written documentation
Every other year, a professional inspection adds measurements you can’t make yourself. At Topside Attic Insulation Tustin, our biennial inspection includes:
- Blower-door test - a pressurization reading that shows, in one number, how much air your building envelope is losing. We compare to our baseline if we’ve worked on your home, or establish one if we haven’t.
- Zone-by-zone depth measurements with a calibrated probe, not a tape measure. This catches density variations that surface measurements miss.
- Thermal imaging scan to identify air leaks and insulation voids invisible to the eye.
- Written report with photos, depth map, blower-door number, and prioritized recommendations.
- Documented Photo Record included on every visit, delivered before we leave - Haven Standard Clause 4.
The blower-door number is the critical addition. A homeowner can measure depth perfectly and still miss air leakage that undermines performance. We’ve tested Tustin homes with adequate insulation depth but blower-door readings above 3,500 CFM50 - meaning they were effectively cooling their attic all summer. After air sealing, those same homes dropped to 2,000 CFM50 or below, with comfort improvements that depth measurements alone never would have predicted.
Under Haven Standard: Arrive on schedule, you get a named technician and a text when they are on the way. The written scope and written warranty are delivered before anyone lifts a tool. Our 365-Day Done Right Promise applies to all completed work, and a live person answers calls 24/7.
Common Mistakes to Avoid
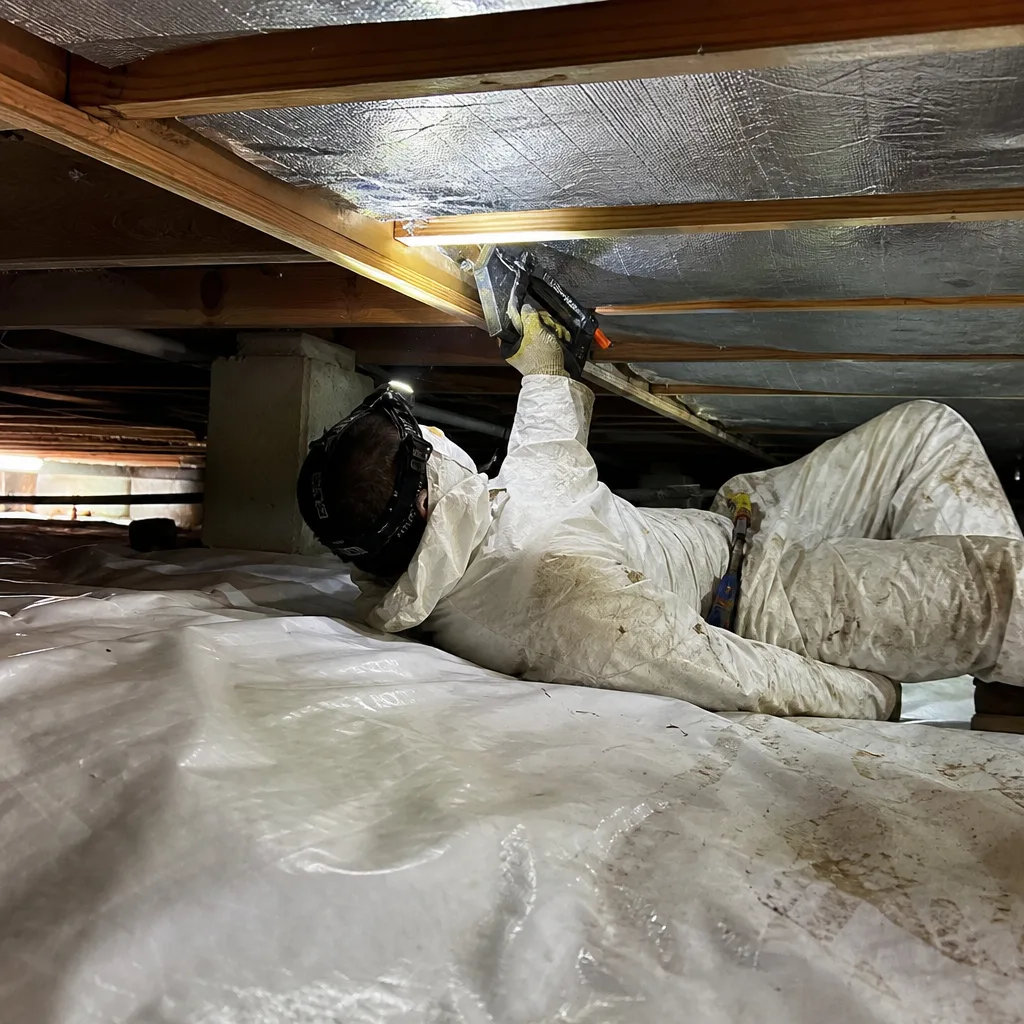
- Adding insulation over unsealed air leaks. This is the most common error we correct in Tustin. New insulation doesn’t stop air movement; it just filters the dust as conditioned air escapes. Seal first, then insulate - in that order.
- Compressing existing insulation during inspection. Walking on joists is standard, but kneeling or standing on insulation compresses it permanently. Use walk boards or plywood strips distributed across multiple joists.
- Ignoring the R-value ruler and guessing at adequacy. “Looks thick” is not a measurement. Two inches of shortfall in Tustin’s climate zone costs measurable energy dollars annually.
- Treating rodent damage as a one-time cleanup. Without entry-point sealing, roof rats return. We’ve revisited Tustin attics where homeowners paid for removal and re-insulation twice in three years because the access path wasn’t closed.
- Assuming bath exhaust ducts are fine because the fan works. The fan working and the duct connected are separate conditions. Disconnected ducts are silent failures - the fan runs, the air goes somewhere, just not outside.
- Delaying professional inspection until comfort problems become severe. By the time a Tustin homeowner notices upstairs temperature stratification, insulation or air-sealing failure has typically been progressing for two or more seasons.
- Choosing insulation material based on price per bag without considering density and coverage. Owens Corning, Johns Manville, and GreenFiber products each have specified coverage rates at target R-values. Under-application is common when contractors bid by the bag rather than by the specified depth.
When to Call a Professional
Call for a professional assessment when your annual check reveals depth shortfalls of two inches or more at multiple points, any rodent activity indicators, moisture staining on roof sheathing or insulation, or when your summer cooling bills trend upward without rate increases. Also call if your home was built before 1990 and has never had a blower-door test - original Tustin construction predates modern air-sealing requirements by a wide margin.
Topside Attic Insulation Tustin offers free estimates in Tustin - call (657) 286-7673. We’ll read any competing written estimate with you as part of our Free Second Opinion on Any Written Estimate. Every job begins with a Written Price Before Any Work Starts, always - Haven Standard Clause 1 - and closes with a Documented Photo Record. On applicable jobs, before-and-after blower-door readings are provided so you can verify the air-sealing result in a single figure.
Frequently Asked Questions
Most attic insulation maintenance and repair jobs in Tustin run between $1,800 and $4,500, depending on whether the work involves topping off settled insulation, addressing air-sealing failures, or removing and replacing rodent-damaged material. A professional inspection with blower-door test, thermal imaging, and written report typically runs $350-$600. Call (657) 286-7673 for an exact quote - estimates are free, and we deliver a written price before any work starts.
Yes, if the existing insulation is dry, uncontaminated, and uncompressed. In Tustin’s climate, fiberglass batts or loose-fill that hasn’t been exposed to moisture or rodent activity can remain in place as a base layer. Unsure whether to DIY or call a pro? Read our DIY vs Professional Insulation: The Tustin Homeowner’s Decision Guide. We don’t recommend adding over insulation with active rodent damage, moisture staining, or significant compression - the underlying problems will continue and may accelerate. A professional assessment can determine which condition applies to your specific attic.
Homeowners should perform the basic 20-minute inspection annually, ideally in April before the heavy cooling season. A professional inspection with blower-door testing and thermal imaging should occur every two years, or any time you notice comfort changes or energy cost increases. Homes in Tustin’s older neighborhoods or those with previous rodent issues may benefit from more frequent professional checks.
Current Title 24 requirements for Tustin, in CEC Climate Zone 8, specify R-38 for new construction and R-30 for retrofit installations. However, many Tustin homeowners choose R-38 or higher for retrofits given summer cooling loads and Southern California Edison rate structures. The key is measuring installed depth against your specific product’s R-value ruler, not assuming the original installation label still applies after years of settling.
Repair - adding material to achieve specified depth, sealing air leaks, and spot-replacing damaged sections - is typically 40-60% less expensive than full removal and replacement. Full replacement becomes the better option when insulation is extensively rodent-contaminated, moisture-damaged, or when the original material is below current code minimum and air-sealing access would be compromised by working around it. We provide both options with written pricing for comparison.
Yes, though the cause is often air leakage rather than insulation depth alone. In Tustin’s cooling-dominated climate, conditioned air escaping through top plates, recessed lights, and duct penetrations creates negative pressure that pulls hot attic air into wall cavities. Insulation slows conductive heat transfer but doesn’t stop air movement. A blower-door test identifies whether your problem is insulation, air sealing, or both - we’ve seen Tustin homes where sealing alone solved upstairs temperature issues without adding any insulation.
The Bottom Line
Attic insulation maintenance in Tustin isn’t about looking for damage - it’s about measuring specific depths, recognizing the three rodent indicators unique to our region, catching air-sealing failures before they undermine comfort, and confirming that moisture sources stay routed outside. For a deeper dive, see our The Complete Guide to Insulation in Tustin. The annual 20-minute homeowner check prevents small issues from becoming expensive problems. The biennial professional inspection adds the blower-door number that proves whether your building envelope is performing as intended. Keep records, photograph what you find, and schedule professional assessment when measurements drift or indicators appear.
Written by Wes Okafor, Owner at Topside Attic Insulation Tustin, serving Tustin since 2016.