
Last updated September 24, 2026
DIY vs Professional Insulation: The Tustin Homeowner’s Decision Guide
Home Depot rents insulation blowers for roughly $200 a day in Orange County. The machine and the material are genuinely accessible. What the rental counter doesn’t tell you is that installing insulation over unsealed top plates locks the air leaks permanently under the new material, and that a blower-door test - a pressurization reading that shows, in one number, how much air your building envelope is losing - is the only way to know whether you needed to seal first. In Tustin’s 1960s-1990s housing stock, we’ve found that roughly 70% of attics need significant air-sealing before insulation goes in. This guide walks you through exactly what a competent homeowner can handle, what requires a licensed professional, and how to calculate the true return on each approach - or browse more guides & resources for related projects.
Quick Answer
Most Tustin homeowners can safely DIY simple attic insulation tasks like adding blown-in depth over clean existing insulation or replacing damaged batt sections in accessible areas. However, How to Hire a Insulation Contractor in Tustin: A Step-by-Step Guide becomes relevant when your attic needs air-sealing of top plates, can lights, or HVAC penetrations first - because skipping this step and blowing insulation over unsealed leaks traps the problem, reduces energy savings by 30-40%, and eliminates eligibility for most utility rebates. In Tustin’s climate, a professional job that includes air-sealing and blower-door verification typically pays back in 3-5 years; a DIY job without sealing often stretches to 7-10 years or never reaches full payback.
Table of Contents
- What Tustin DIYers Can Do Safely
- What You Should Never DIY in a Tustin Home
- The True Cost Comparison: DIY vs Professional
- California License Rules: What the Law Actually Says
- The Documentation Gap: Rebates, Resale, and Proof
- How Tustin’s Climate and Code Affect Your Decision
- When Professional Air-Sealing Changes Everything
- Making the Decision: A Step-by-Step Framework
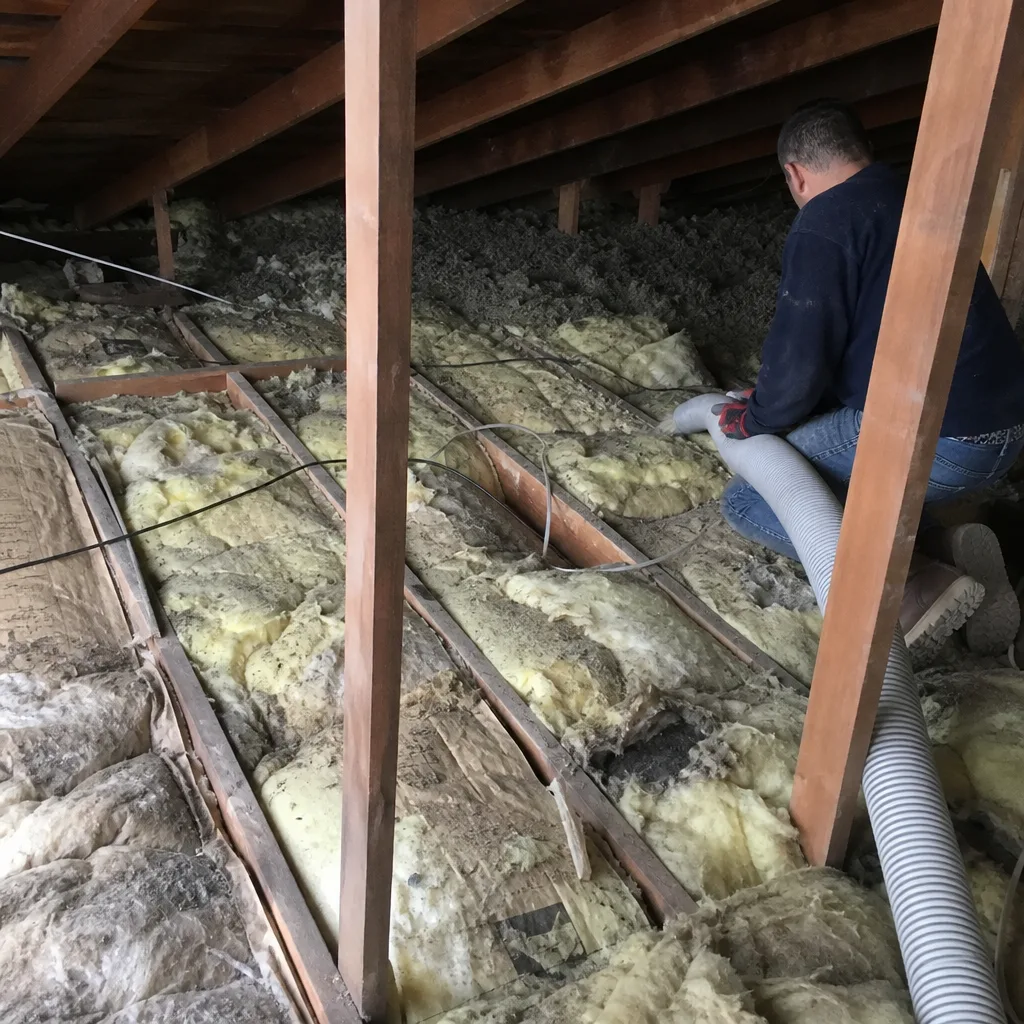 Before
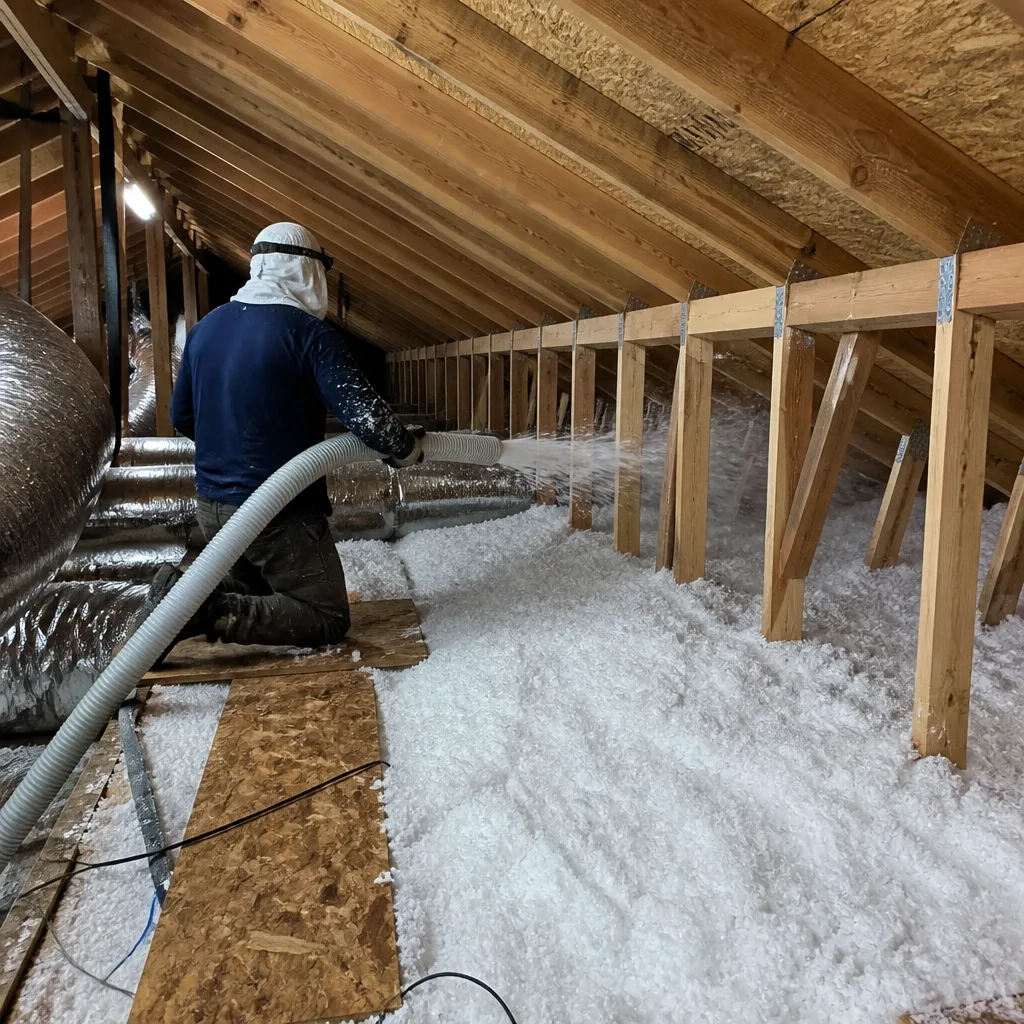 After
AfterWhat Tustin DIYers Can Do Safely
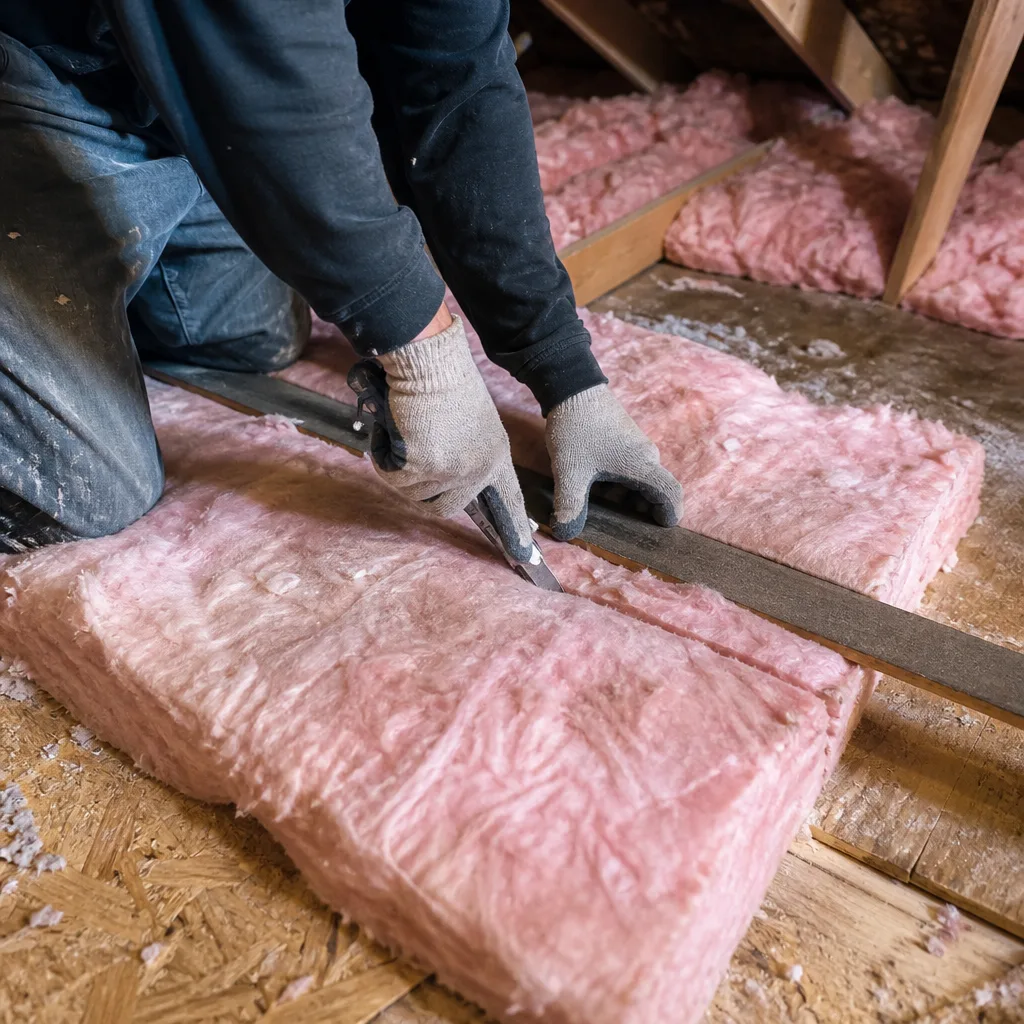
We’re straightforward about this: some insulation work is genuinely within reach of a careful homeowner with basic tools and a free weekend. We’ve walked through enough Tustin attics to know the difference between a job that rewards DIY effort and one that punishes it.
Attic Hatch Insulation Panels
The attic hatch is the weakest thermal point in most Tustin homes built before 1995. A typical 2×2 foot plywood hatch with no insulation creates a chimney effect that undermines everything below it. This is ideal DIY territory.
- Measure your hatch opening precisely.
- Cut rigid foam board (polyiso, R-6 per inch) to fit the hatch perimeter, leaving a half-inch gap for weatherstripping compression.
- Attach foil-faced foam to the hatch underside with construction adhesive and cap nails.
- Install compressible weatherstripping on the hatch frame where it meets the drywall ceiling.
- Add latch hardware that pulls the hatch tight against the seal when closed.
Materials run $40-$80. The work takes two hours. The energy impact is immediate and measurable.
Adding Blown-In Depth Over Existing Insulation
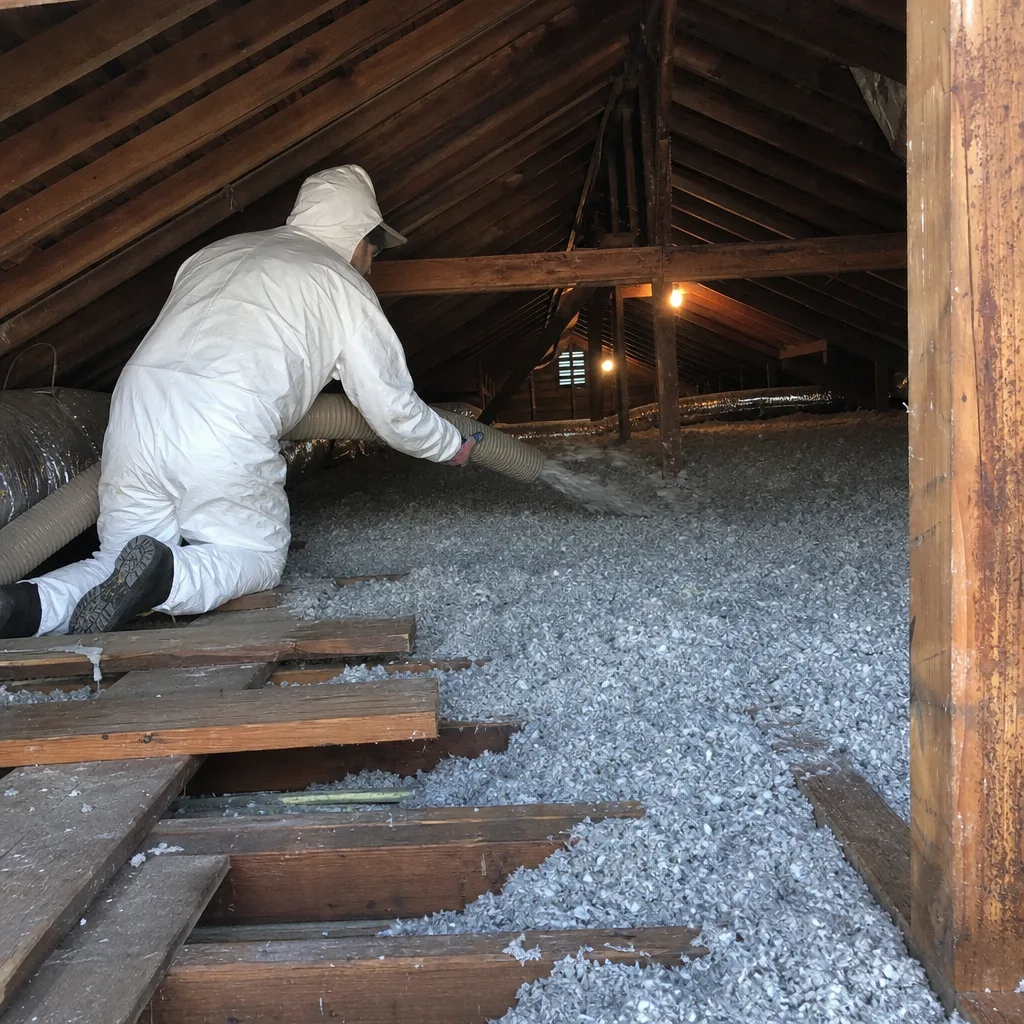
If your Tustin attic already has fiberglass batts or blown-in cellulose in good condition, with no rodent damage, no moisture staining, and no visible penetrations through the ceiling below, adding depth is straightforward. Orange County’s current Title 24 energy code recommends R-38 to R-49 for attic insulation in this climate zone. Many Tustin homes built in the 1970s and 1980s sit at R-19 or R-30.
Here’s the critical condition: look at the attic floor before you rent that blower. If you see gaps around electrical boxes, open chase walls, or discolored insulation suggesting air movement, stop. Those are thermal bypasses, and burying them with new material makes them harder to fix later. In the Ranchos neighborhood and older Tustin Meadows sections, we regularly find original insulation installed directly over unsealed top plates - the horizontal framing member where wall studs meet the ceiling. That’s not a DIY add-on situation. That’s an air-sealing-first situation.
Assuming clean conditions, a homeowner can:
- Rent a blower machine from Home Depot or Lowe’s for approximately $200/day (machine is free with minimum material purchase at some locations).
- Purchase GreenFiber cellulose or Owens Corning loose-fill fiberglass; a 1,200 square foot attic needs roughly 30-40 bags to reach R-38 from R-19.
- Material cost: $500-$800 depending on product and current pricing.
- Work with a partner: one person feeds the machine, one works the hose in the attic.
- Wear an N95 respirator, long sleeves, and eye protection. Cellulose dust is non-toxic but abrasive to lungs and skin.
Replacing Damaged Batt Sections in Accessible Crawl Spaces
Crawl spaces in Tustin’s flatter neighborhoods - near the I-5 corridor, in portions of Tustin Legacy - sometimes have moisture-damaged or fallen batt insulation between floor joists. If the space is ventilated, dry, at least 24 inches high, and free of active rodent issues, a homeowner can replace these sections.
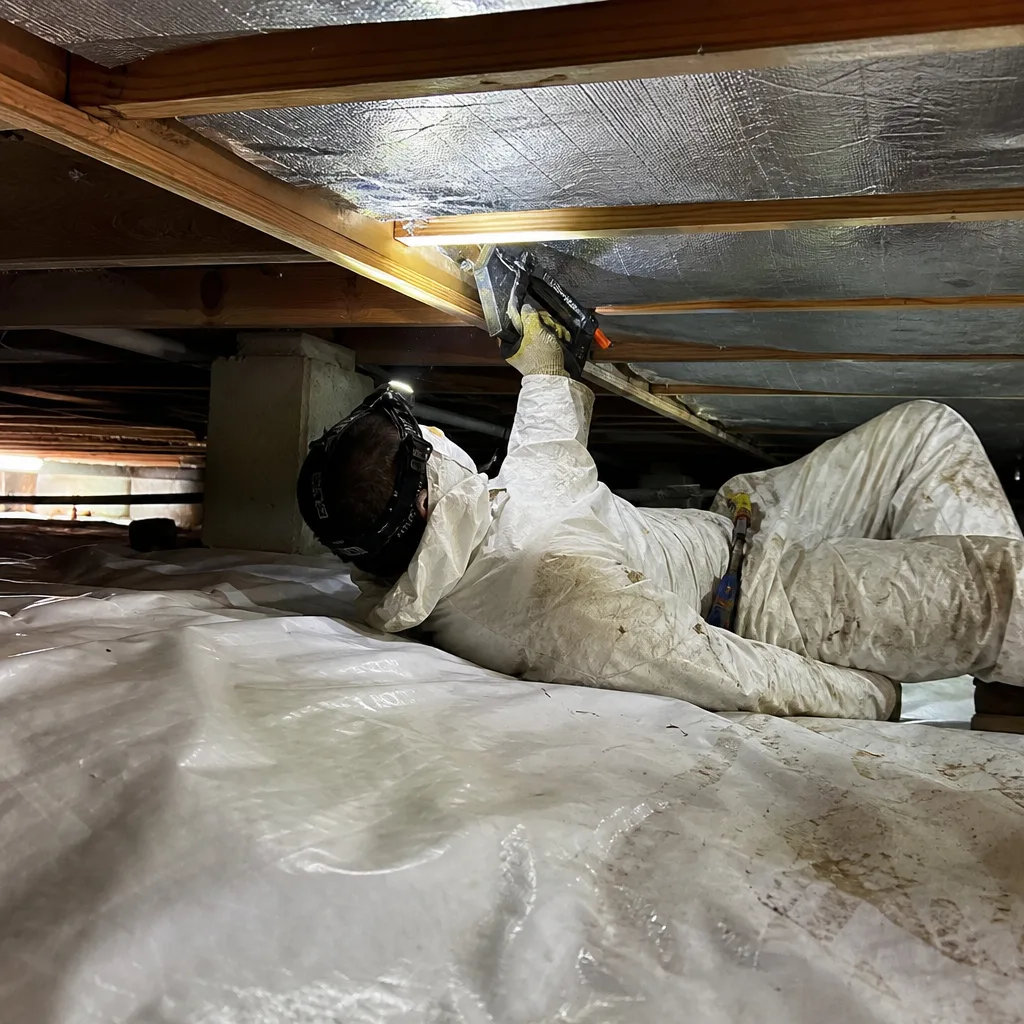
Use unfaced fiberglass batts (faced paper traps moisture in our climate) sized to joist spacing - typically 16 or 24 inches on center. Support with wire insulation hangers or nylon twine. Do not compress the batt; it needs its full thickness to achieve rated R-value. A 1,000 square foot crawl space runs $300-$500 in materials.
Stop and call a professional if you find: standing water, mold on joists, rodent droppings concentrated in areas, or HVAC ductwork with visible gaps. These are not insulation problems. They’re building envelope problems that insulation will hide and worsen.
What You Should Never DIY in a Tustin Home
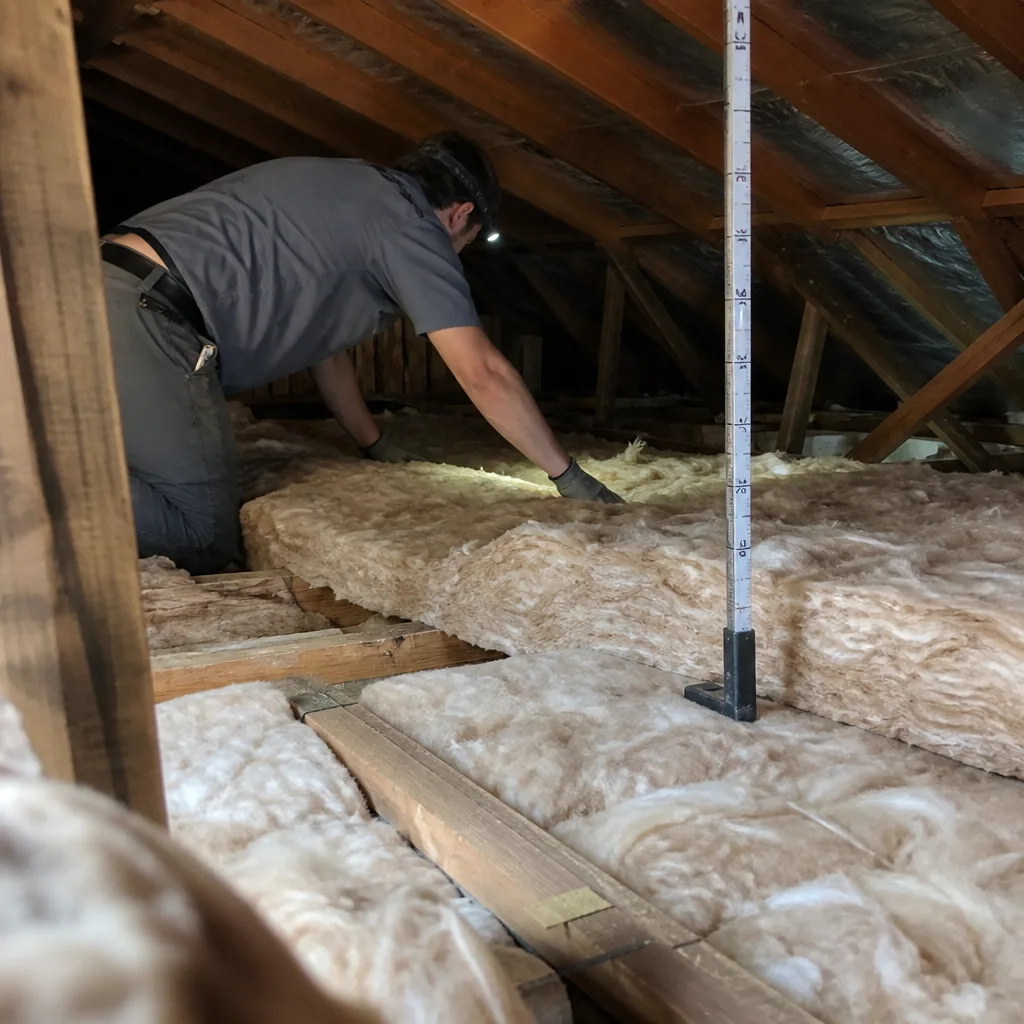
Some tasks carry genuine safety risk or require equipment and verification that doesn’t exist at retail. We’re specific about where the line falls.
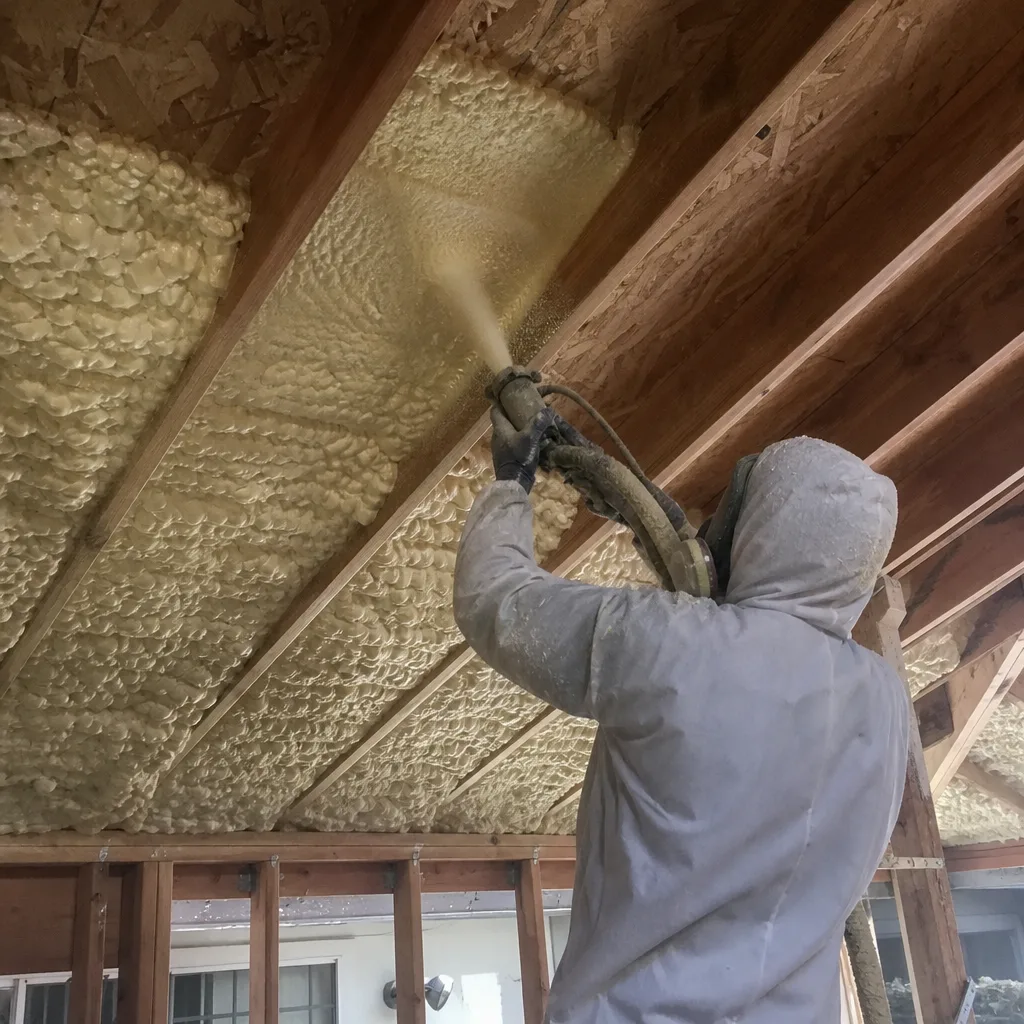
Top-Plate Air-Sealing with Two-Part Spray Foam
The top plate - the horizontal 2×4 or 2×6 where your wall framing meets the ceiling drywall - is the single largest source of attic air leakage in Tustin’s tract homes. Every interior wall creates two linear feet of potential leakage per foot of wall length. In a 1,800 square foot home, that’s often 200+ linear feet of joint.
Sealing this properly requires:
- Two-part closed-cell spray foam (Demilec or Icynene products at minimum 2-inch depth) or high-quality single-component foam for smaller gaps, followed by fire-blocking where code requires.
- A supplied-air respirator or P100 with organic vapor cartridge - not a dust mask, not an N95. Isocyanate exposure causes permanent respiratory sensitization.
- Working in attic temperatures that regularly exceed 130°F in Tustin’s August afternoons.
- Managing cure times and off-gassing; re-occupancy timing depends on product and ventilation.
We’ve seen homeowners attempt this with hardware-store foam cans and no respiratory protection. The result is incomplete sealing, overspray on shingles or wiring, and in one case in the Panorama Heights area, a homeowner who developed asthma symptoms requiring medical treatment. The savings from DIY here are imaginary; the costs are real.
Blower-Door Testing
A blower door - a calibrated fan mounted in an exterior door frame that depressurizes the house to measure air leakage - is not available for homeowner rental in Orange County. The equipment costs $3,000-$5,000, requires annual calibration, and demands training to interpret results. More importantly, the test is meaningless without the expertise to locate leakage paths and prioritize sealing sequence.
Without a blower-door baseline, you cannot know:
- Whether your attic sealing was effective (we’ve seen 30% of DIY sealing attempts fail to move the number).
- Whether you’ve created dangerous backdrafting conditions in gas water heaters or furnaces.
- Whether your home meets the airtightness threshold for utility rebate programs.
Our crews run blower-door tests on every air-sealing job in Tustin. The before-and-after numbers go on the invoice. A typical 1970s Tustin home starts at 3,500-5,500 CFM50 (cubic feet per minute at 50 pascals of pressure). After proper sealing, we expect 2,000-3,000 CFM50. That difference, in writing, is what you pay for.
Work Adjacent to HVAC Equipment
Tustin homes with gas furnaces or water heaters in attic or closet spaces present combustion safety risks that insulation work can exacerbate. Sealing a return chase without verifying combustion air supply can create negative pressure that pulls carbon monoxide into living spaces. Insulating around flex duct connections can compress or kink the duct, reducing airflow and causing equipment to overheat.
California’s Title 24 requires combustion safety testing after envelope alterations in homes with atmospherically vented appliances. This is not a suggestion. A homeowner lacks the equipment (manometer, combustion analyzer) and typically the training to perform this verification.
The True Cost Comparison: DIY vs Professional
Here’s where most online comparisons fail. They compare material cost to installed price and stop. We’re going to run the full numbers for a typical Tustin scenario: a 1,600 square foot single-story home built in 1978, currently at R-19 attic insulation, with unsealed top plates and six recessed can lights.
Scenario A: DIY Blown-In Over Existing
| Item | Cost |
|---|---|
| Insulation blower rental (1 day) | $200 |
| GreenFiber cellulose, 35 bags | $630 |
| Attic hatch insulation kit | $60 |
| Respirator, gloves, protective gear | $45 |
| Your labor (2 people, 6 hours) | $0 |
| Total DIY Cost | $935 |
Energy savings: approximately 15-20% on heating/cooling, or $180-$240 annually in Tustin’s climate. Payback: 4-5 years. Captured benefit: roughly 60% of available envelope improvement, because air leakage continues unabated.
Scenario B: Professional Air-Sealing Plus Insulation
| Item | Cost |
|---|---|
| Attic air-sealing (top plates, can lights, penetrations) | $1,200 |
| Blower-door guided sealing + verification | $400 |
| Blown-in insulation to R-49 | $1,800 |
| Attic hatch insulation and weatherstripping | $150 |
| Documented Photo Record + CF2R certificate | Included |
| Total Professional Cost | $3,550 |
Energy savings: 35-45% on heating/cooling, or $420-$540 annually. Payback: 3.5-4.5 years. Captured benefit: 95% of available envelope improvement.
The incremental $2,615 for professional work buys $240-$300 in additional annual savings. That’s a 9-11% annual return on the incremental investment, tax-free, for the life of the insulation. The DIY job never catches up; it starts behind and stays behind.
There’s another Tustin-specific factor: time-of-use electricity rates from SCE. Homes with poor envelopes pay peak rates for longer cooling cycles. A tighter envelope shifts more cooling into off-peak hours. We don’t have space to model this precisely, but the directional effect favors the sealed home significantly.
California License Rules: What the Law Actually Says
California draws a sharp line between work you do on your own home and work done for compensation. This matters when you’re considering hiring a handyman, a general laborer, or anyone advertising on a neighborhood app.
A homeowner can legally install their own insulation without any license. No CSLB registration, no bonding, no insurance requirement. The work still must meet local building code, and you still need permits for certain alterations, but the labor itself is unrestricted.
Anyone paid to install insulation in California must hold either:
- A C-2 Warm-Air Heating, Ventilating and Air-Conditioning license (covers insulation as part of HVAC work), or
- A B General Building Contractor license (covers insulation as part of general construction).
This is not a technicality. An unlicensed person performing insulation work for hire faces CSLB enforcement, and their contract is unenforceable in court. For you as a homeowner, hiring unlicensed means: no access to the CSLB complaint process, no guarantee of workers’ compensation coverage (you become the employer of record if someone is injured), and no pathway if the work fails.
We’ve been called to redo work by unlicensed handymen in Tustin’s older neighborhoods - typically blown-in installed over active leaks, or batts stuffed into soffit vents blocking attic ventilation. The homeowner paid twice. Under Haven Standard: Have it in writing, we always verify license status before any subcontractor touches a job.
When you receive our written price, it includes the license number, proof of insurance, and scope of work. That’s Clause 1. You should demand the same from anyone you consider.
The Documentation Gap: Rebates, Resale, and Proof
What you walk away with matters as much as what was installed. This is where DIY and professional work diverge permanently.
What Professional Work Provides
- CF2R certificate: California’s required documentation for energy alterations, filed with the state HERS registry. Needed for permit finalization and utility rebate claims.
- Before-and-after blower-door readings: Pressurization numbers showing CFM50 reduction, documented on your invoice with date, technician name, and equipment calibration date.
- Documented Photo Record: Time-stamped photos of attic conditions before, during, and after work - accessible to you permanently, not available on request because it’s already delivered.
- Written scope and written warranty: Exactly what was done, with what materials, to what depth, with what coverage - plus the 365-Day Done Right Promise if anything doesn’t perform as specified.
What DIY Work Produces
Receipts from Home Depot. Maybe some photos on your phone. No third-party verification that the work was done correctly, no eligibility for Southern California Edison’s insulation rebates (which require HERS verification), no documentation for a future buyer’s inspection.
In Tustin’s competitive resale market, where homes in the Tustin Unified School District command significant premiums, buyers and their inspectors increasingly ask about insulation depth and energy improvements. A documented professional job with blower-door numbers is a selling point. A DIY job is a question mark.
The financial cost of missing documentation: SCE’s insulation rebate program currently offers $0.15-$0.30 per square foot for attic insulation with verified installation. On a 1,600 square foot home, that’s $240-$480 you forfeit. The HERS verification required costs approximately $200-$300, but it’s only available through a licensed contractor’s work. DIY installation cannot receive HERS certification regardless of quality.
How Tustin’s Climate and Code Affect Your Decision
Tustin sits in California Climate Zone 8, a mixed-dry climate with significant cooling demand and moderate heating need. This shapes both the insulation strategy and the economics of professional versus DIY work.
Cooling-Dominant Load
Unlike Midwest or Northeast markets where heating drives envelope investment, Tustin homes spend 60-70% of HVAC energy on cooling. This matters because attic insulation has diminishing returns in cooling-dominated climates once R-30 is reached - but air-sealing does not diminish. A leaky R-49 attic still loses conditioned air; a tight R-38 attic performs better in practice.
The professional advantage is larger here than in heating climates. Sealing matters more than depth. A DIYer adding R-49 over leaks captures less real benefit than a professional achieving R-38 with verified tightness.
Santa Ana Wind Events
Tustin’s periodic Santa Ana wind conditions create positive pressure on building envelopes, forcing conditioned air out through every gap. Homes with unsealed top plates experience measurable heat loss during these events. We’ve documented blower-door readings spiking 15-20% during Santa Ana conditions in homes with poor envelope sealing. This is not a factor that material depth addresses; only air-sealing does.
Title 24 and Local Amendments
Orange County enforces California Title 24 energy code with local amendments. For alterations exceeding certain thresholds, permit and inspection are required. A simple like-for-like batt replacement typically does not trigger permitting. Adding insulation where none existed, or altering attic ventilation, may.
Professional contractors handle permitting as part of scope. DIYers must self-permit through the City of Tustin Building Division, including plan submission and inspection scheduling. The permit cost is modest ($100-$200 typically), but the time and knowledge burden is real. Unpermitted work discovered at sale can require retroactive permitting or removal.
When Professional Air-Sealing Changes Everything
We’ve said that air-sealing before insulation is our hard prerequisite. Here’s what that looks like in practice, and why it can’t be DIY’d.
The Top Plate Problem in Tustin Homes
In a typical Tustin tract home - let’s say a 1968 ranch in the Laurelwood neighborhood - the drywall ceiling meets the wall framing at the top plate. The drywall is rarely caulked or sealed to this framing. Every interior wall creates a gap where conditioned air escapes into the attic. During our blower-door tests, we use an infrared camera while the house is depressurized; these top plates show as bright red lines, literally glowing with heat loss.
Sealing them requires:
- Removing existing insulation to expose the plates fully - a dirty, itchy job in tight quarters.
- Cleaning dust and debris for foam adhesion.
- Applying two-part closed-cell foam (typically Demilec Heatlok HFO or similar) to achieve continuous seal across irregular framing.
- Installing fire-blocking foam or intumescent coating where required by code for certain assemblies.
- Replacing insulation without compressing it or blocking soffit ventilation.
- Running blower-door verification to confirm reduction.
A crew of two experienced technicians takes 4-6 hours for a 1,500 square foot home. A homeowner attempting this without training, without proper respiratory protection, and without verification is working blind at significant personal risk.
Can Lights and HVAC Chases
Recessed can lights installed before 2010 are rarely IC-rated (insulation contact) and almost never airtight. Each one leaks like a 4-inch hole in your ceiling. In Tustin homes with 8-12 can lights in kitchens and living areas, that’s equivalent to leaving a window cracked year-round.
Proper treatment involves either replacing with airtight IC-rated fixtures or installing sealed enclosures (Tenmat covers or similar) before insulation goes over. Electrical work at junction boxes requires care and code knowledge. We’ve found live junction boxes buried in insulation by DIYers - a fire hazard that remained hidden until our inspection.
HVAC chase walls - the framed enclosures that carry ductwork from attic to rooms below - are often open to attic air at multiple points. Sealing these requires sheet metal, mastic, and sometimes duct modification. This is not insulation work. This is building science work that happens before insulation.
Making the Decision: A Step-by-Step Framework
Use this sequence to decide your path. We’re not trying to sell you work you don’t need. We’re trying to prevent you from spending money that doesn’t perform.
Step 1: Inspect Your Attic Honestly
Go up with a flashlight on a cool morning. Look for:
- Discolored insulation (dark gray or black streaks indicate air leakage).
- Visible gaps around electrical boxes, plumbing vents, or chimney penetrations.
- Insulation pulled away from eaves, suggesting wind washing.
- Moisture stains on roof decking or rafters.
- Any HVAC equipment, can lights, or exhaust fans.
If you see none of these - rare in Tustin homes over 30 years old - DIY adding depth is reasonable.
Step 2: Check Your Goals
| Your Goal | Recommended Path |
|---|---|
| Reduce utility bills measurably | Professional: air-sealing + insulation + blower-door proof |
| Fix a specific cold/hot room | Professional: likely a duct or air-sealing issue, not insulation depth |
| Sell home in 1-2 years | Professional: documentation adds resale value |
| Claim utility rebates | Professional: HERS verification required |
| Budget is severely constrained | DIY hatch sealing + wait to save for proper professional work |
| Attic is clean, no penetrations, just under-insulated | DIY depth addition is viable |
Step 3: Get a Professional Assessment Even If You DIY
Our Free Second Opinion on Any Written Estimate applies to your own research too. Bring us your attic photos and your material list. We’ll tell you what we see and whether you’re on the right track. No charge, no pressure. Under Haven Standard: Have it in writing, we document even these consultations with notes you can keep.
Common Mistakes to Avoid
- Blowing insulation over unsealed can lights. Non-IC-rated fixtures overheated and caused fires we’ve seen in Tustin Ranch area homes. Always verify rating or install sealed enclosures first.
- Compressing batts into tight spaces. A compressed R-30 batt performs like R-15. Batt thickness must match joist depth with no squeezing.
- Blocking soffit vents with new insulation. Tustin homes need attic ventilation to manage summer heat. Install baffles to maintain airflow path from soffit to ridge vent.
- Ignoring rodent evidence. Droppings or chewed batts mean active infestation. New insulation over this creates a permanent reservoir of contamination. Remediate first.
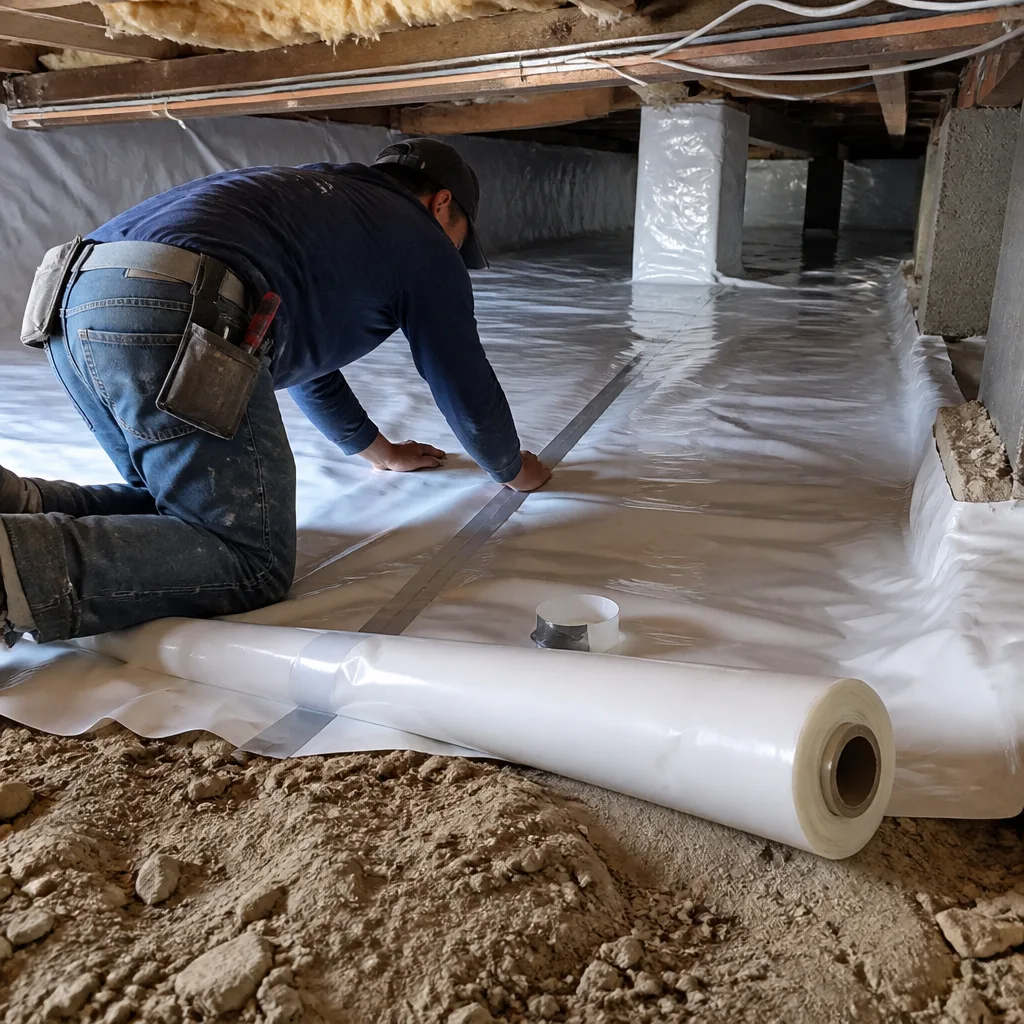
- Using faced batts in crawl spaces. The kraft paper vapor barrier traps moisture against floor joists in our climate. Always unfaced with proper ground vapor barrier.
- Skipping combustion safety check after attic sealing. Even professional sealing can create backdrafting. A blower-door test with spillage evaluation is mandatory when gas appliances are present.
- Assuming all blown-in products are equivalent. GreenFiber cellulose has different density and settling characteristics than fiberglass loose-fill. Coverage charts vary by product; follow the specific bag instructions, not generic online guidance.
When to Call a Professional
Call a licensed insulation contractor when your attic has any of these: visible air leakage paths, HVAC equipment or ductwork, can lights or other electrical penetrations, moisture or rodent issues, or when you need documented proof of performance for rebates or resale. In Tustin’s climate, the combination of air-sealing and verified insulation depth consistently outperforms depth alone.
Topside Attic Insulation Tustin offers free estimates in Tustin. We’ll walk your attic, run a blower-door test if air-sealing is indicated, and give you a written price before any work starts. Call (657) 286-7673 to schedule. Every job closes with a Documented Photo Record and, on applicable work, before-and-after blower-door numbers you can verify yourself.
Frequently Asked Questions
Professional attic insulation with air-sealing in Tustin typically runs $2,500-$4,500 for a single-story home between 1,200 and 2,000 square feet, depending on access conditions and existing insulation state. DIY material-only cost for the same footprint is $700-$1,200. The professional premium buys air-sealing, blower-door verification, code compliance documentation, and rebate eligibility that DIY cannot match. Call (657) 286-7673 for a written price on your specific home - estimates are free.
You can add over old insulation if it’s dry, uncontaminated, and uncompressed. In Tustin’s older homes, we often find insulation compromised by rodent activity, moisture from roof leaks, or previous owner storage traffic. We remove and replace in roughly 30% of jobs we quote. The only way to know is visual inspection; photos from our Documented Photo Record show you exactly what we found and why we recommended removal or addition.
DIY attic insulation is worth the effort if your attic is clean, has no penetrations requiring sealing, and you’re only adding depth to existing material. The moment your attic needs air-sealing of top plates, can lights, or HVAC penetrations, DIY savings evaporate because the unsealed leaks undermine performance permanently. We’ve tested Tustin homes where DIY insulation improved comfort marginally but missed 40% of available energy savings due to skipped air-sealing.
Simple like-for-like batt replacement typically requires no permit. Adding insulation where none existed, altering attic ventilation, or any work involving spray foam application requires a permit from the City of Tustin Building Division. Professional contractors pull permits as part of scope; DIYers must self-permit. Unpermitted work can complicate home sales and insurance claims. We include permit costs in our written price when required - no surprise add-ons.
No. SCE’s insulation rebate program requires HERS (Home Energy Rating System) verification by a certified rater, which is only available for work performed by licensed contractors with proper documentation. The CF2R certificate we file on every qualifying job is the specific document rebate programs require. DIY installation, regardless of quality, cannot receive this certification. The forgone rebate typically ranges $240-$480 for a Tustin home.
Signs your Tustin attic needs air-sealing first: dark discoloration on existing insulation (air leakage filtering dust), cold drafts in rooms below exterior walls in winter, hot ceilings in summer despite adequate insulation depth, or visible gaps around electrical boxes and plumbing vents. The definitive test is a blower-door depressurization with infrared imaging - we offer this as part of our assessment. Without it, you’re guessing. Call (657) 286-7673 to schedule.
The Bottom Line
The DIY versus professional insulation question in Tustin comes down to one factor: whether your attic needs air-sealing before new material goes in. If it doesn’t - a rare condition in homes built before 2000 - a careful homeowner can add depth and capture reasonable savings. If it does, and most Tustin attics do, DIY insulation buries the problem rather than fixing it, leaving 30-40% of energy savings on the table permanently. The incremental cost of professional work pays back faster, performs better, and produces the documentation that rebates, resale, and your own peace of mind require. We’ve sealed and insulated over 9,000 homes since 2016, every one with a written price first and a documented record at completion. That documentation is what professional work looks like.
Written by Wes Okafor, Owner at Topside Attic Insulation Tustin, serving Tustin since 2016.